Introduction
Suppose you were to document all the tasks you do as an iOS Developer. In that case, you’ll probably be surprised how many of those tasks are manual, i.e. you must click some buttons, install some certificates, upload binary, and lots more.
As humans, we often get into habits of doing those tasks repeatedly, but this is exactly what it is, time. Something very precious and often expensive.
This article will cover the topic of Continuous Integration (CI) and some of the different providers out there, including self-hosted alternatives. After over a decade of building iOS apps, I have almost used them all, and I will cover some of the pros/cons of each.
What is CI
The words “Continuous Integration” go back many years. It was a terminology of merging each developer’s environments into a shared one for the building and testing stage of the developer lifecycle.
Benefits of using CI
It was created because often each developer can have varying environments and multiple different versions of tools such as Ruby or even Xcode versions in our case, this means that when building the project or running the tests, the result could be different, and in some cases give us false positives or errors that might not actually be supported versions.
So moving to a shared environment means that we get a consistent build and a consistent running of our tests which leads to a more accurate result on all levels.
Of course, what that “shared environment” looks like is exactly what this article will cover.
Building In House or Third-Party
Like most situations of programming or even software engineering in general, we often get choices between using something maintained by someone else or do we create it ourselves. This could be the decision between using a component built by someone and using that code inside your app or building it again and owning the code.
There are benefits for and against, and this philosophy is the same when deciding on using your own CI or a CI provided by someone else.
Benefits of building in house
If you decide to build CI in-house, there can be huge benefits for doing so, you’re completely in control of where, how, and when to run your code, and you will know where it’s being compiled exactly.
There are also some other benefits of running in-house, such as:
- Cheaper to run
- You own the hardware that your code is being compiled on
- You can implement any changes you feel fit
However, there are also many downsides to running CI in-house, such as:
- Huge time maintenance costs
- Having to manage all the versions of Xcode, macOS etc…
- If something goes wrong, you are the only person to resolve the issues
- You’re starting from scratch, and you will have to write all the scripts and everything to go with
- You’ll have to handle Provisioning Profiles 🤦🏼♂️
Benefits of using the third-party option
Suppose you decide to use a third-party provider for your CI. In that case, you will seek the opposite above, you will be handing control to another provider to execute a Virtual Machine with your code, and you’ll likely have everything else maintained and managed for you.
The benefits such as:
- Completely managed and maintained with support
- All the versions of Xcode, macOS etc… are managed
- Some providers are using super fast macs such as M1 or M2
- Some have some handy plugins with scripts ready to go.
However, there are some drawbacks, such as:
- It can be expensive, especially if you’re growing fast
- Your code will be executed somewhere out of your control
- Often the scripts can be hosted on the provider’s systems, which makes it difficult to export
Third-Party Providers
So, you’ve decided if in-house or third-party providers would work for you. Let’s explore some of the options we have on the market, starting with third-party providers.
I want to clarify that I have not received any endorsement from these companies, and some I have never used until now; however, I have used most of these in my past jobs.
Xcode Cloud

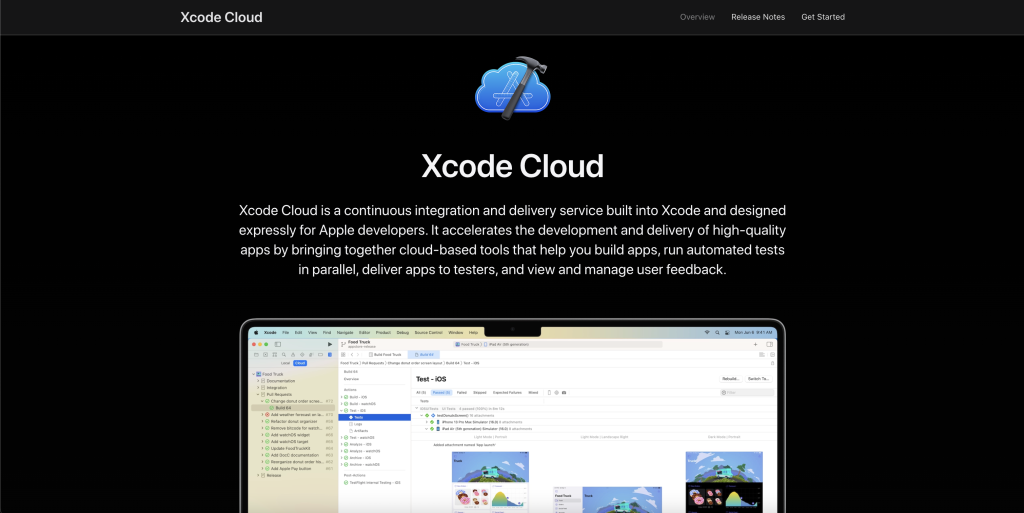
It felt only right to start with Xcode Cloud, I mean, we’re all using Xcode, right? And we’re all developing apps for the Apple platform. Xcode Cloud is a complete CI service that is built directly inside Xcode, and it will allow you to run tests, and scripts and deploy to TestFlight or App Store.
This is the biggest selling point for me is the fact that it’s a managed service by the team powering our toolset, and that can only be a great thing, however, if your team is also using Android or similar platforms, then it’s going to be completely siloed from your fellow teams.
Apple is giving everyone 25 build hours for free, and the next package is $49.99 for 100 hours; in general, I found the pricing relatively cheap, and if you’re scaling your mobile team, the highest package will cost you $99.99 per month for 250 hours. It’s worth noting that the free tier isn’t always available and will usually cost you $14.99 per month.
Getting started with Xcode Cloud is extremely easy by accessing directly through Xcode.
Bitrise

Bitrise was one of the early companies to provide this service to customers, and I have used their platform a couple of times now with current and/or previous jobs.
You can start using Bitrise almost immediately, and you’ll be given five concurrent runners with up to 300 credits for free per month. To put it into perspective, each build with some tests is likely around six credits (depending on what hardware you’re using).
The platform is incredibly easy to use, you can configure your GitHub or Source Control, and it will very quick to check out the code. Bitrise has some very handy docs going through how to set up different Workflows for various projects such as iOS, Android, React Native etc…
The platform has a very handy GUI that makes it very easy to edit Workflows and add or remove individual scripts to run, the biggest problem I found was that it was almost “too easy” to add these, and it was often difficult to export the scripts afterwards; however, there is an option to execute scripts instead but the platform kind of forces you in the first direction.
The cost is certainly a concern if you’re an indie developer or a very small team, you’ll likely want to stick with Hobby (the free tier), but as you start growing, the cost will very quickly go up, and you can easily expect to spend upwards of £300+ per month for a simple iOS project.
So, in my opinion, it’s a balance between “ease of use” and “cost” if you’re looking for a very simple platform that is quick to get going and happy to pay for that service, then Bitrise could be a great option for you.
CodeMagic

CodeMagic is another CI provider, although they market in the space of Flutter they support all iOS, Android, React Native + more through their platform.
It’s very quick to get started, and by creating a free account, you will get 500 build minutes per month for free. That equates to around 8 hours, and from experience, a simple iOS application with both Unit Tests and some UI tests will take around 20 minutes, so that is around 24 builds per month for free. This could work for a very small team, especially if you’re making 1 Pull Request per day or similar, and of course, you might choose to only run builds on deployments to the App Store, which would help massively.
I like that CodeMagic gives “minutes” because this is very easy to understand and manage internally.
The platform is incredibly easy to get going, connecting Github and then following the docs to create a CodeMagic.yaml which is a configuration file containing all the scripts. What I love about this is that you’re forced to commit your scripts to the repository, which is the best way in my opinion.
The UI is very simple to follow, and I was able to get a build with UI and Unit tests running in around 1 hour time they also support M1 machines as standard.
I found CodeMagic incredibly well priced, they charge $0.09 per minute and are capped at $299; extra concurrent runners are $49 extra. For a small team, I suspect three runners to be enough.
GitHub Actions

GitHub Actions is available for anyone who is hosting the code through Github, which is probably a lot. GitHub Actions is a set of actions to perform on your code when certain conditions are met. It’s very simple to get going, and you can change the config file directly through github.com and then push it directly to the repository.
If you’re open-source, then it’s completely free, which is something that I absolutely love about GitHub Actions and then 2,000 build minutes on the free tier.
GitHub Actions has a huge amount of community contributions, there are thousands of plugins available and people have shared many Workflow configuration files for you to reuse, there are even templates available if you wish.
If you start growing, the usage is going to cost you around $0.09 per minute, which is reasonable, however, it can start getting expensive, especially if you’re running regular builds, so do keep this in mind if Github is your choice.
Runway

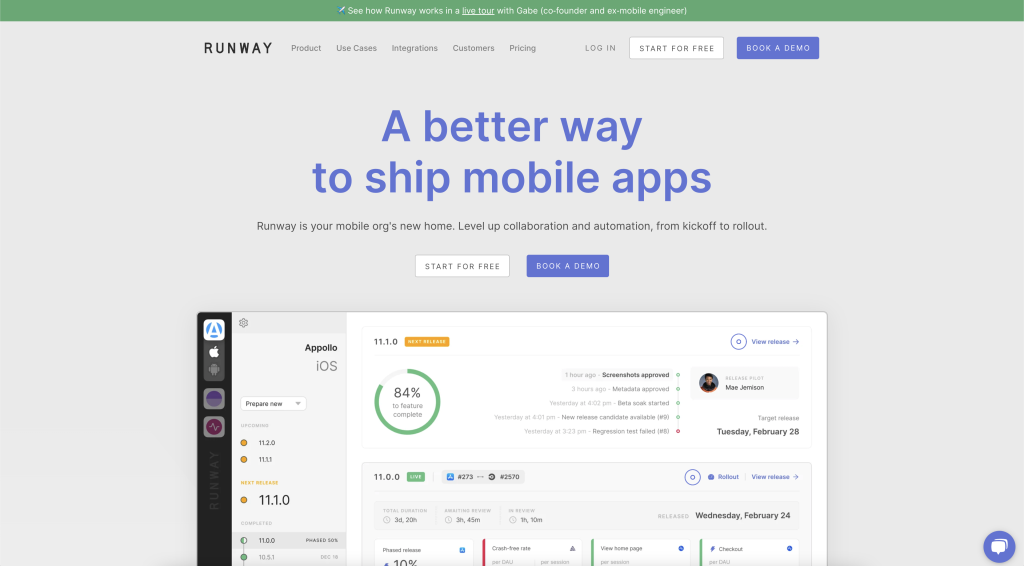
Runway is relatively new to the market and in fact have becoming more and more popular amongst mobile developers. Runway is more than just Continuous Integration, there mission is to take control of the entire release cycle from teams and automate it, now, unless you have worked within a large company that develops mobile apps then you may have never faced the challenges that Runway is looking to solve.
Let me give you an example.
Let’s say you’re working for a brand new Digital Bank and you have grown the mobile team to 4 squads and in each squad there are 5 developers. You’re currently using JIRA to manage all your tasks and you’re doing an iOS App Store release every 2 weeks. You will find this process tedious, because you will likely have discussions such as “What’s going inside this next release”, “Has everything been merged for the release tomorrow”.
Then leaves the next question: “Who is doing the release”.
Despite your best efforts automating all of those processes, you will still need someone or a group of people to manage the release, deal with the JIRA issues, tagging the version, kicking off the release process and deal with the App Store details, then you’re likely going to monitor the release, check for any immediate crashes etc…
Generally, we’d call this the “Release Managers” or similar and it is very popular amongst the bigger companies. This is a real problem and time-consuming effort, and Runway is designing a platform to handle all of this and take control and automate, including the above steps.
Sadly, I have never used Runway, and I could not start an account right away, but the website and demo look great and could be a great option for the bigger engineering teams.
In-House Providers
Now that you have discovered some third-party providers, there are also some in-house providers available let me explain what In House really means.
In-House means that you will take full control of the service, from hosting to the scripts to execute your tasks. I have to be honest that by doing this, you take full responsibility for maintaining everything set up, and it’s often larger than first thought.
You must also manage all the Xcode and macOS versions each year.
Jenkins

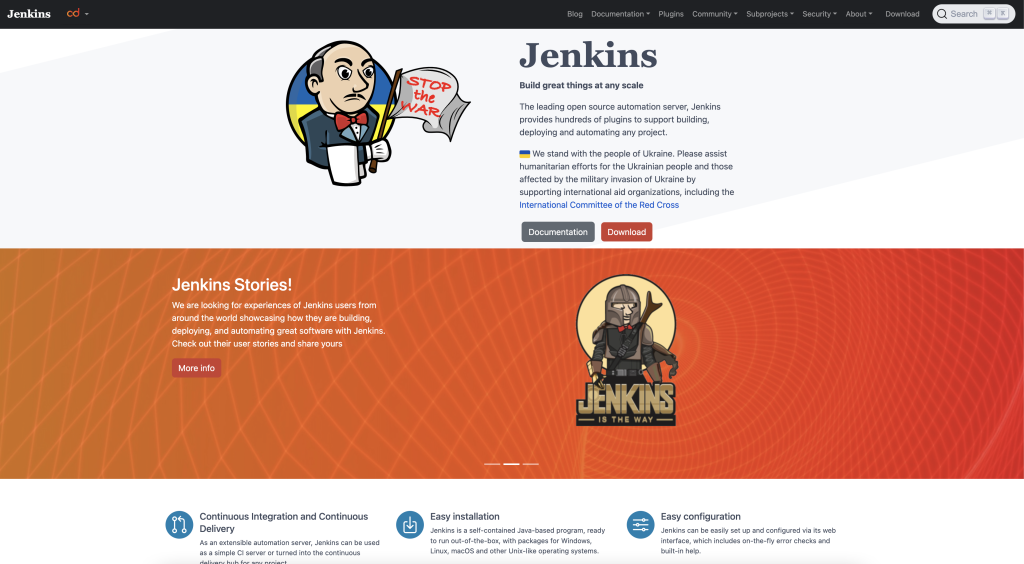
Jenkins has been around since 2011 and is an open-source provider maintained by the community. I have to say that it’s received legendary status due to its legacy. It was primarily used for web technologies but further evolved into the mobile industry because let’s be honest, it’s simply a service that spins up an environment and executes some scripts.
Jenkins provides a fully in-house platform that you can deploy on AWS or Heroku or any other major cloud platform, and then you can get to work, in fact, I have used Jenkins more in my decade of experience than any other provider in this article, and I love it, in fact, I wrote many tutorials on Jenkins in my previous years writing tutorials.
Because Jenkin is open-source, it’s completely free to install and if you deploy on AWS or similar the cost is going to be relatively cheap, if not free. In fact, you could install Jenkins locally on your machine or a Mac Mini within your home or office for the hardware. This is great if you want complete control of your CI, but note that having this setup will carry huge maintenance costs; in fact, at one of my previous jobs, we spent more time maintaining CI than it was providing usefulness.
I will always be hugely grateful to the community that supports Jenkins because I love it, and I hope it may continue to exist as I am sure it will do.
Wrap Up
So, will you be using Continuous Integration within your developer workflow? Perhaps, you’re using one of these already, and I am curious to hear your thoughts and experiences too.
In my opinion, if you’re a sole developer, Xcode Cloud or Code Magic could be a great option for you, simply because of the price point of view; however, Bitrise is super simple to use and could work if you’re prepared to pay the costs as you scale.
Finally, don’t discount Jenkins if you love managing and fully controlling your systems and hardware. If you’re wondering where to deploy Jenkins due to the macOS requirement, a few providers exist, including Mac Stadium.

