
A UITableView is one of the oldest components provided within UIKit. However, we’re moving away from this in replacement of the UICollectionView or ListView in SwiftUI, and it’s still a fundamental component that is well used across the industry.
In this tutorial, you’re going to explore the basics of creating a UITableView.
Start by creating a brand new Xcode Project.

In this tutorial, we’re going to be using Swift and Storyboard to create this sample. However, it’s also possible to do this using code alone.
Navigate to the Main.storyboard file.

When you create a brand new Xcode Project, it will default the very first screen as a UIViewController, although it’s possible to drag a brand new UITableView to this screen. So you’re going to replace this with a UITableViewController.
This will allow us to have some functionality out of the box and for this sample to make it easier to understand.
Go ahead and click on this ViewController and hit the delete key.
Next, go ahead and click on the + icon to access the Storyboard Library.

Next, search for the UITableViewController and drag this on to the Storyboard.

Now that you have a brand new UITableViewController, you should make this the Initial View Controller.

Congratulations, you have created a brand new UITableViewController.
Go ahead and Build & Run the project.
Did you notice something went wrong? Unfortunately, you’re missing a couple more steps before your UITableView will be displayed.
Navigate to your ViewController.swift file
class ViewController: UITableViewController {

    override func viewDidLoad() {
        super.viewDidLoad()
        // Do any additional setup after loading the view.
    }
}
Change your code to the above; you’re changing the class from a ViewController to a UITableViewController.
You should now navigate back to the Main.storyboard file.
Click on your brand new UITableViewController and navigate to the Identity Inspector.
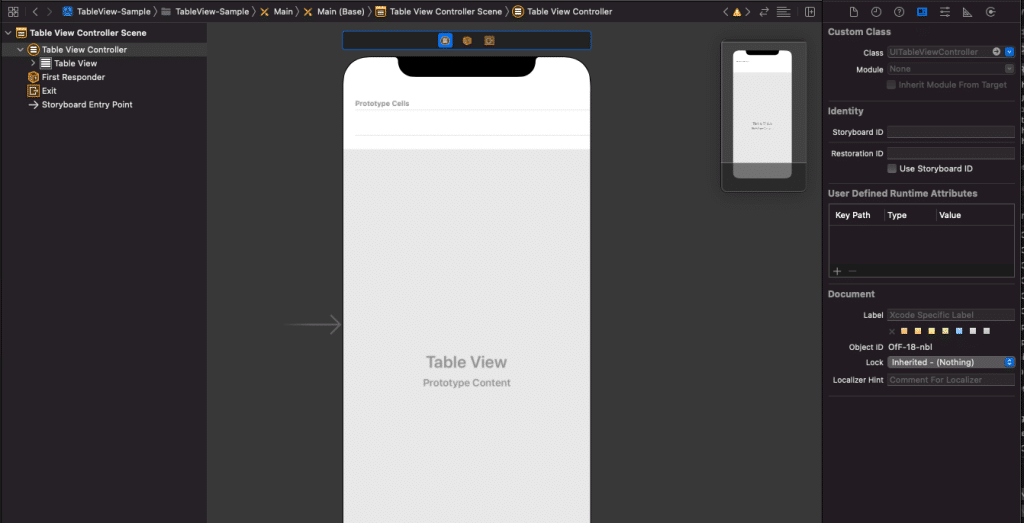
You should change the Class to your newly created ViewController.

You have a couple more steps go before you can display a UITableViewCell inside your UITableView.
Click on the UITableViewCell inside your UITableViewController and navigate to the Attributes Inspector.
Give your UITableViewCell Identifier “cell” for now.

You have one more final step to make. Navigate back to the ViewController.swift file
override func tableView(_ tableView: UITableView, numberOfRowsInSection section: Int) -> Int {
  return 1
}

override func tableView(_ tableView: UITableView, cellForRowAt indexPath: IndexPath) -> UITableViewCell {
  let cell = tableView.dequeueReusableCell(withIdentifier: "cell", for: indexPath)
  return cell
}
The above code is doing two things:
- Setting our row count to 1 (ideally this would be a dynamic number but 1 is fine for now).
- Creating a brand new UITableViewCell using our “cell” identifier we just inserted earlier.
It’s time to Build & Run the project.

Congratulations! You have created a brand new project using a UITableViewController and displaying a UITableViewCell.
You have only touched the basics, and you can continue with this Sample Project and perhaps look at how you can style the “cell” and potentially have a dynamic data set. We’ll be covering these topics in future tutorials.

